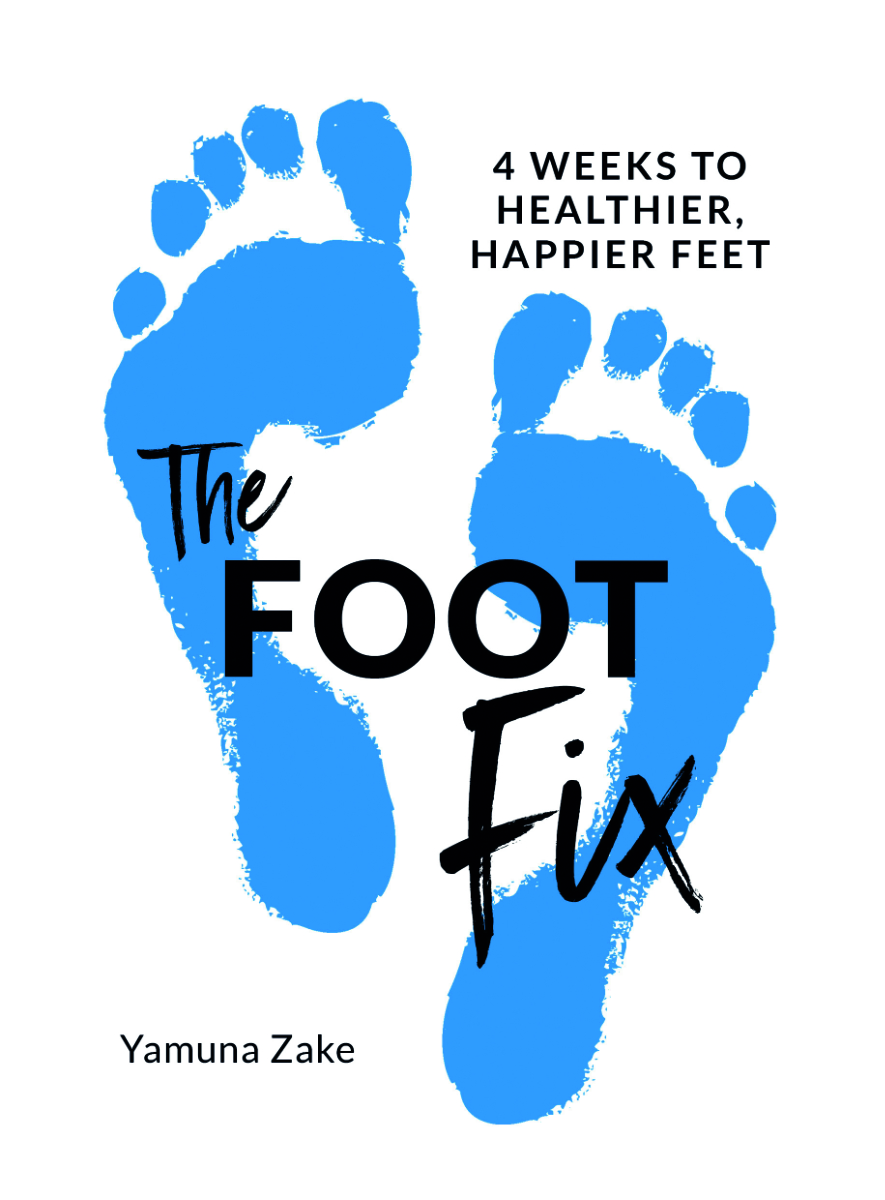
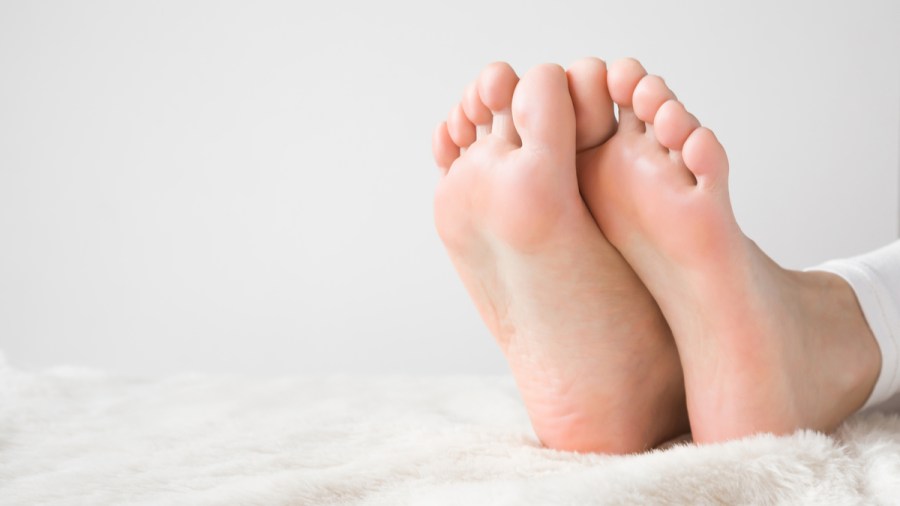
 Did you know your entire posture can be affected by how you walk? Yamuna Zake, author of The Foot Fix, reveals why walking properly and getting your feet functioning in the best way possible can benefit your whole body.
Your feet are crucial to the wellbeing of your entire body. Because your feet are your foundation, they’re connected to every problem you may have elsewhere in your body.
For example, there’s almost always a relationship between a knee or hip problem and the feet. If a hip or knee is not aligned properly, the foot below it will be misaligned, too.
Since misaligned feet don’t actively hold you up, your body weight drops heavily into them, locking in the misalignment pattern that originally caused the knee or hip problem.
Over time, the feet break down, causing other problems, such as low back pain or tightness in your knees, hips or back. In general, if you try to fix an injured part without realigning your feet, the chances are that the injury will come back.
The converse is also true. The more function your feet have, the more strongly they support you in an upright position. Your whole body feels lighter and freer. You stand straight and your posture improves. You discover that when your feet really hold you up, it’s actually hard to collapse and slump.
Often, people tell me they’ve never had any foot problems before, but now suddenly their feet are killing them. Shoes they’ve always worn are no longer comfortable, or they had to give up wearing high heels. I explain that, after all this time, their walking pattern has finally worn their feet down. Those feet are now begging for a change that will improve their gait and prevent further breakdown.
Take the walking test
This test helps you determine which parts of your feet aren’t yet working properly. You may be surprised to discover it’s quite difficult to walk through your whole foot. But even if you can’t do it correctly at first, you’ll become aware your feet have the potential to move this way, which is a big part of fixing foot pain.
Do this test for just 1-2 minutes a day – in time it will become second nature to you
- Stand with feet parallel. Step one foot forward and place the centre of the back of the heel on the floor.
- Shift your weight to the outer edge of the heel. Bend your knee a little on this leg and press your weight down into that outer heel. as you press, try to stretch the entire outer edge out from the heel, all the way through the ball of the foot. You might not feel this stretch at first, but imagine it happening and it will come. Before long you’ll find that foot is stretching forward.
- Keeping the weight on the outside, place the entire outside edge, from the front of the heel to the ball, down on the floor. the goal is simply to see whether you can do this. often people don’t use the outside edge of their foot at all, and they discover they can’t put weight into it or feel the pressure being exerted.
- With the outside edge still stretched out, try to stretch the little toe and press it into the floor. Now do the same with the fourth, third, second and big toes. Your knee must stay over the centre of your ankle, so the weight never drops inward and the ankle stays straight. You may find that three toes come down as a group, or the big toe comes down first. this shows you that you can’t separate the toes or really press them into the floor – which means you don’t have full use of them. eventually, they’ll all work separately.
- When you have all five toes pressing into the floor as best you can, lift the heel of your other foot, roll through the entire ball of that foot into the toes and then lift and bring that foot forward. Place the heel down first, then the outside of the foot, then the toes, one by one, as you did with the first foot. When the second foot is firmly on the floor, lift the heel of the first foot again and repeat the exercise. take four or five steps with each foot this way.
- Now compare the performances of your two feet. the first time you do this, you may find some surprising differences. this tells you which parts of each foot are functioning well and which aren’t, so you know what you need to work on
Try the power stance
The Power Stance begins creating your arch simply by making a straight line with the outside edge of your foot. You can feel your arch lift just by doing it.
- Stand with your feet parallel and hip-width apart.
- Shift your weight into one foot. Line up the outside edge of the foot so it forms a completely straight line, from the heel to the little toe. ideally, you can line it up along the edge of a rug, tile or plank on the floor. If any padding from under the foot sticks out to the side, tilt the foot onto the outside edge, bear weight into it, and press outward with your leg and foot to tuck the padding back under the foot where it belongs. the padding is supposed to be underneath the foot. it acts as a cushion and springboard. When it oozes out to the side, it’s not doing these jobs. When you look down, this foot should now look very different from the other foot, and you should feel that you’re standing straighter and the padding is actually supporting you.
- Move your hip farther out to the side so your weight goes even more into that foot, and all the toes except the fifth toe (the little one) come off the floor. You want to feel your body weight bearing into the bones of the outer edge of the foot, outer knee, and hip. As you stay in the stance, you can feel the sensation of your weight in those bones.
- With your weight still going into the outside edge of the foot, lower your fourth, third, second and big toes one at a time, as best you can. (the toes are numbered 1-5, with 1 being the big toe and 5 the little toe.) make sure you keep the knee directly over the middle of your foot and ankle as you do this.
- Once all five toes are on the floor, press them down. Look: you’ve got an arch! Don’t worry if you can’t move each toe by itself or get your second toe or big toe easily to the floor. This just indicates that you still have work to do to create length through each part of the foot. Once you retrain all the parts of your feet through the four-week program, you’ll be able to do these actions.
Lessen your chance of falling
Stand with your feet parallel, hip-width apart. shift your weight forward toward the fronts of your feet but lift your toes off the floor slightly, so they are touching it but not being used.
Now press all 10 toes into the floor as strongly as you can. What happens? Did you find that when not using your toes, you had hardly any balance? The moment you press them into the floor, your balance improves, your stance is more upright, and your arch and general foot alignment are better. Your feet can’t support your body well unless the toes are engaged.
Waking up the ball – foot behind
When you walk, both the foot in front and the one behind you must be able to roll through the ball into the toes. This routine trains each foot to shift from the heel into each joint in the ball when the foot is behind you. The more smoothly the ball of the foot can transfer weight, the more easily your movement flows through the muscle chains of the legs. In this routine, hold onto a tabletop or chair for balance if you need to.
- Step one foot backward. make sure both feet are parallel and keep them that way.
- Shift your weight into the entire back foot.
- Shift your weight to the outer heel.
- Bend the knee and lift the heel, rolling through the outer foot into the outer ball of the foot. Press all your weight into the outer ball.
- Lift the heel as high as you can, then press each ball/toe joint down, from the fifth toe to the big toe. then, reverse direction and press from the big toe to the fifth.
- Keeping the knees slightly bent, press backward through the outer foot to the outer heel. Place the entire heel down, bringing the body weight into the back foot. repeat five times.
- Repeat with the other foot.
 The Foot Fix: 4 Weeks to Healthier, Happier Feet by Yamuna Zake (£14.99, Watkins Media) is out now.


